
It's also important to let you know that much of what I sew I make up as I go along. There are no hard or fast rules and hopefully after you have made one you can then make different versions using the basic technique and measurements. If you notice something doesn't work let me know. So here goes.........
The Basics
Measurements: these are fairly loose and can depend on how much fabric you have and the size of the person. I know that sounds vague but really, as it ties up it can fit lots of different sizes. I have written metric measurements.
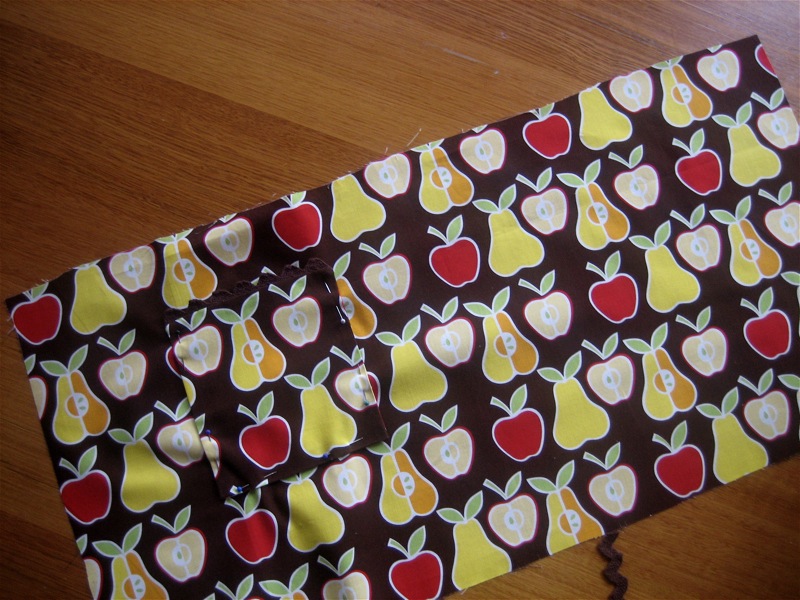
You need to cut 1 skirt, 1 skirt lining, 1 waistband, 1 pocket, 1 pocket lining and 2 ties and 2 tie lining.
For the skirt and skirt lining:
Length: Measure from the waist to the desired length. I don't like these aprons to be too long - just above the knee should be perfect.
Width: Measure from one side of the back around to the other side of the back so that you leave a gap for the bow to sit. You don't want it to cross over at all or the apron will be too big and won't tie properly.
You then need to add extra to the skirt width to allow for the gathering. Again this can depend on how much you want it to gather or how much fabric you have. You may not want it to gather at all which would also be fine. Just leave out Step 4 and cut the skirt the same width as the waistband.
Then add a seam allowance of 1.5cm.
For the Waistband:
Use the same waist measurement for the length of the waistband. For the width 4-5cm is plenty for a child but you may wish to make the adult one a bit wider - anywhere up to 6-7cm wide. Again this is personal choice.
Then add a seam allowance of 1.5cm.
Ties and pocket:
For the pocket it really depends again on how large the person is and how big you want the pocket to be. The finished size of this pocket is 15cm. You will cut two pocket pieces - one out of the lining and one out of the main fabric.
For the ties you need to make them long enough to tie and not so long they hang down. I think around 60-65cm ties are fine. These ties are 5cm wide finished. Remember to add on the 1.5cm seam allowance. This particular version uses the lining and the main fabric - so cut two ties from the main fabric and two from the lining fabric.
For example, these were my apron measurements:
33cm from waist to just above the knee and 56cm around the waist to the mid side back. I then added the seam allowances of 1.5cm on each side and top and bottom and an extra 13cm for the gathering of the skirt.
Skirt & lining= 36cm x 72cm
56cm waist measurement plus 1.5 seam allowance. The width is 4cm x 2 (because the waistband is folded) plus seam allowances.
Waistband = 59cm x 11cm
Ties = 66cm x 8cm
Pocket & lining = 18cm x 18cm
Step 1: The Pocket
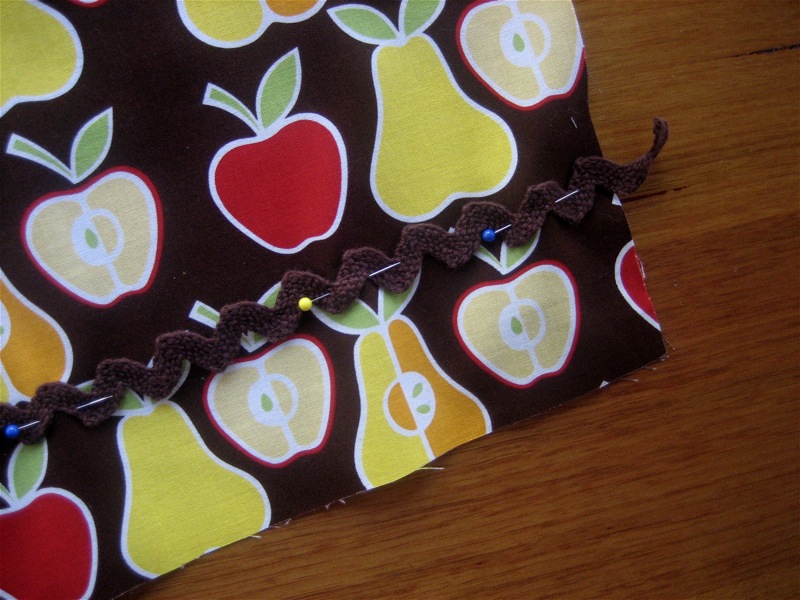
There are several options for the pocket. If you wish to add ric rac you may sew it straight across the pocket or sew it within the seam so that only half of the ric rac sits out along the edge of the pocket making it into a frilled edge.
Option a: To sew the ric rac flat onto the pocket just pin it in the position you would like it and stitch. Then with right sides facing pin side and top seams leaving the bottom open and stitch
Option b: With right sides facing, sandwich the ric rac between the pocket and the pocket lining along the top seamline and pin (pic 1). Then turn the pocket right side out to see if it is lined up (pic 2). Pin the side seams as well leaving the bottom open and stitch (Pic 3).
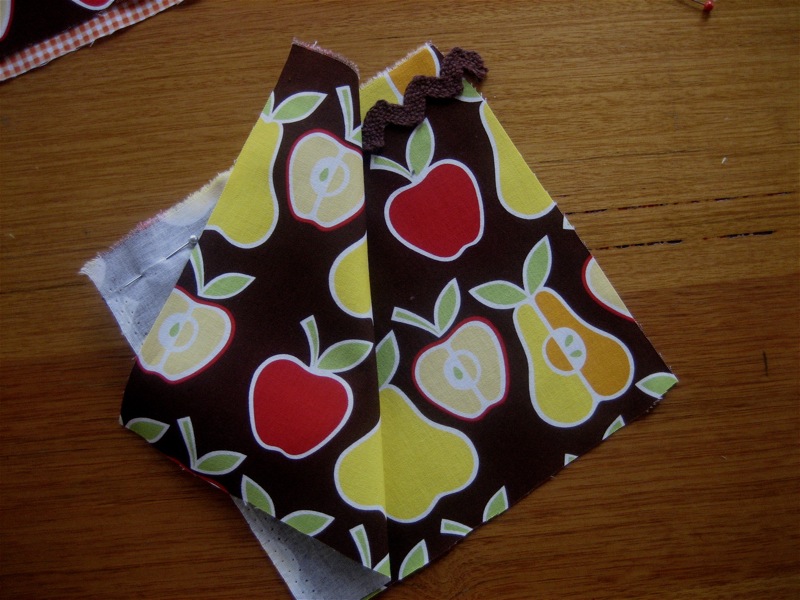 Pic 1
Pic 1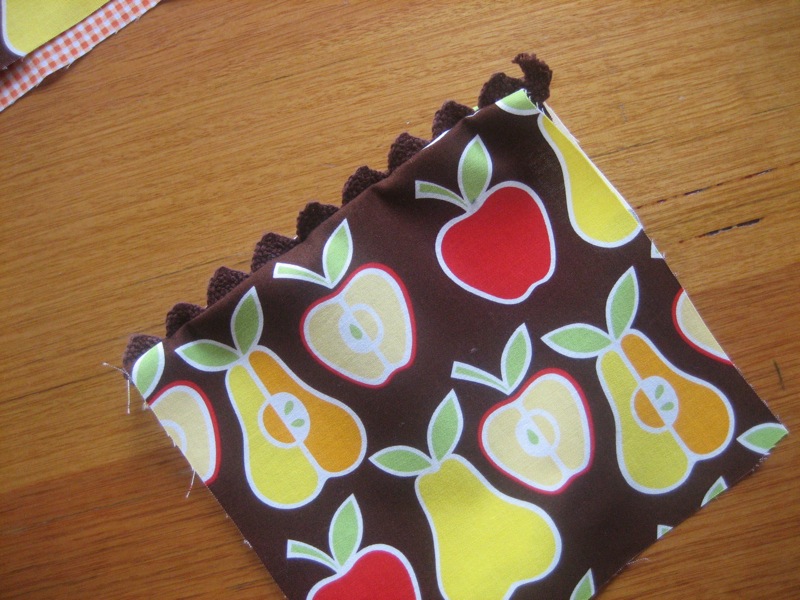 Pic 2
Pic 2 Pic 3
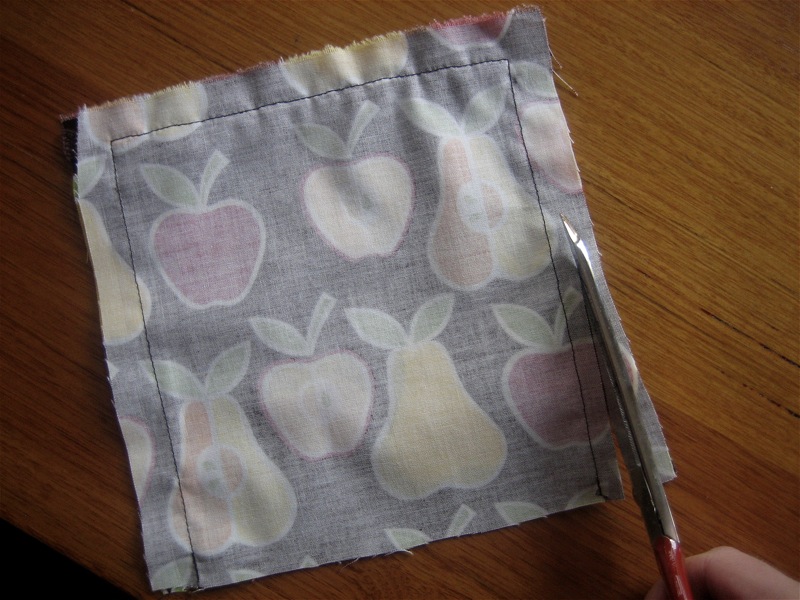
Pic 3For both options, trim the seams and clip the corners (Pic 4 & 5). Turn right side out and press the bottom seam allowance up inside the pocket (Pic 6). Press whole pocket (Pic 7).
 Pic 4
Pic 4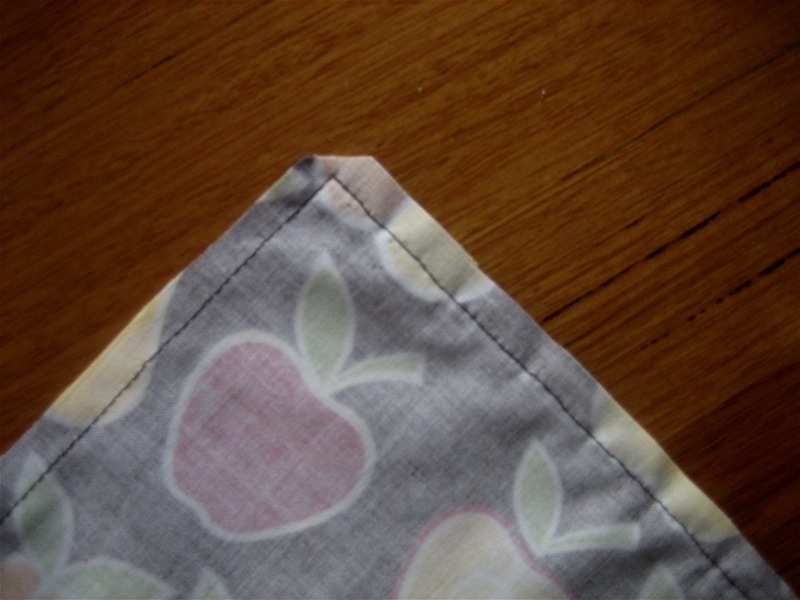 Pic 5
Pic 5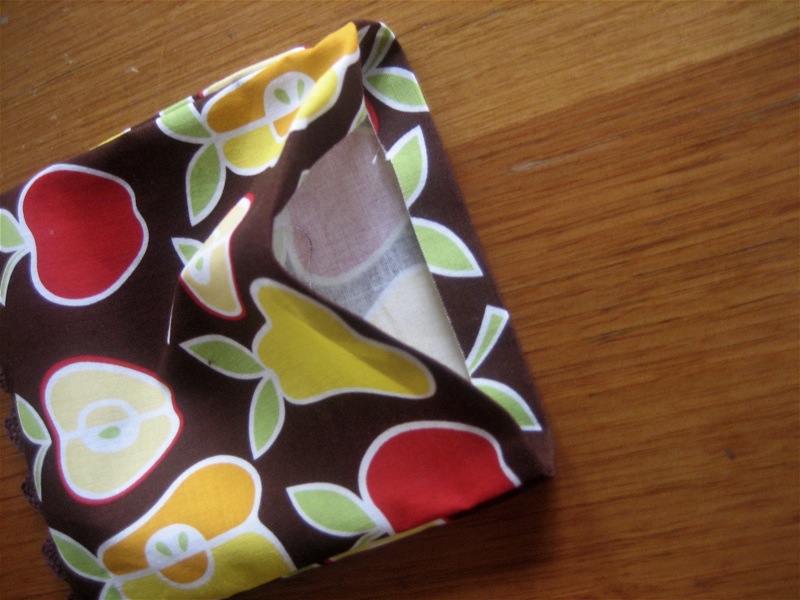 Pic 6
Pic 6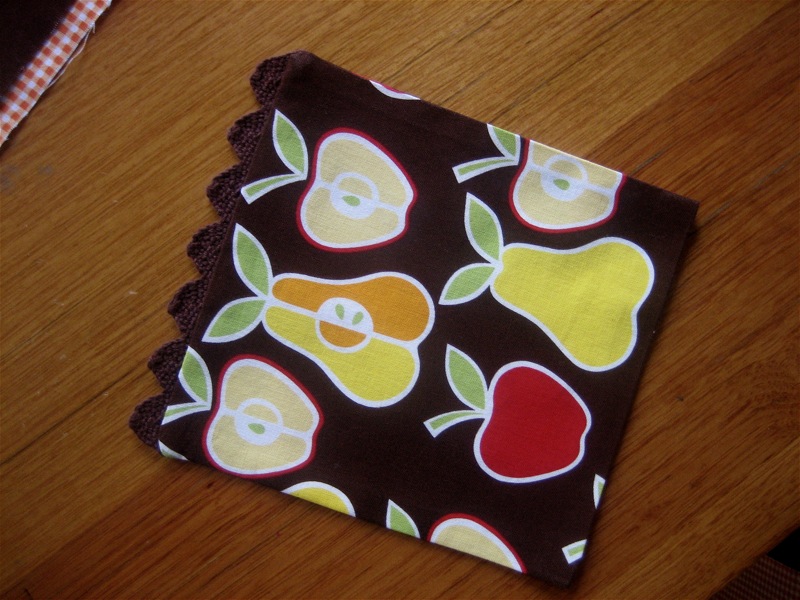 Pic 7
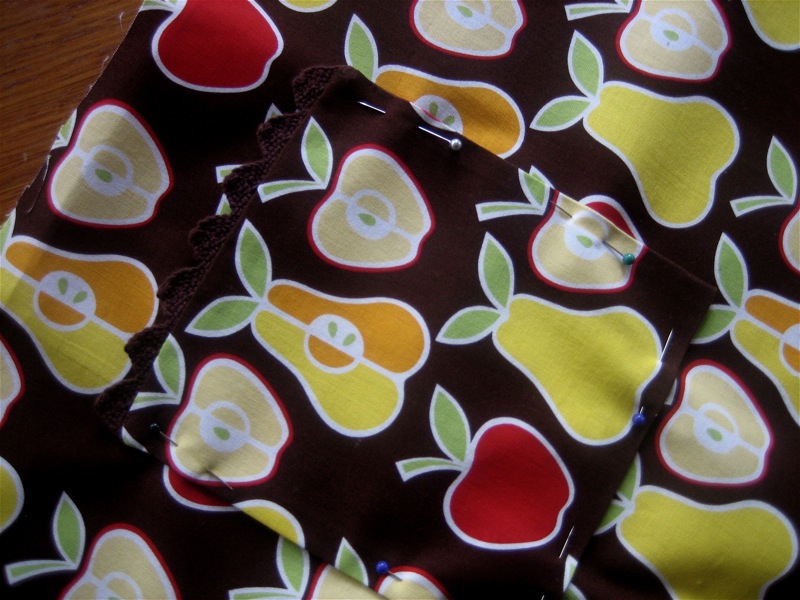
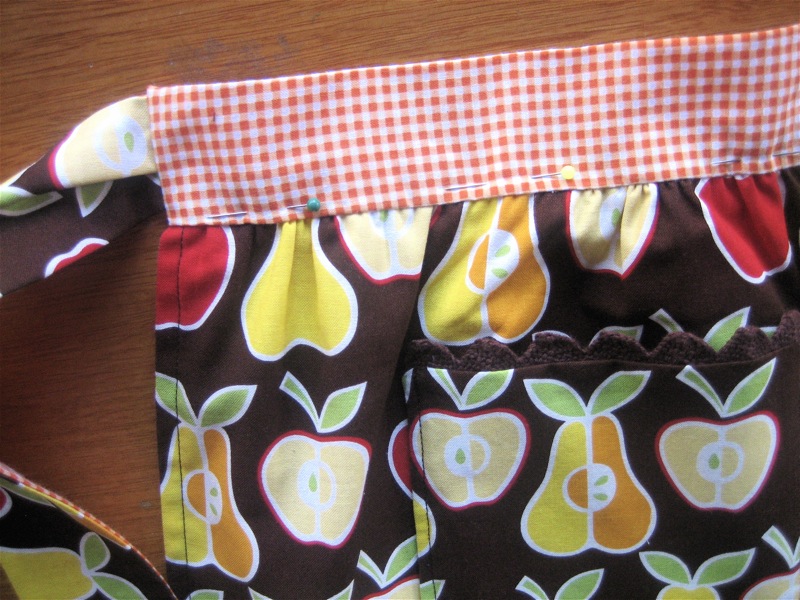
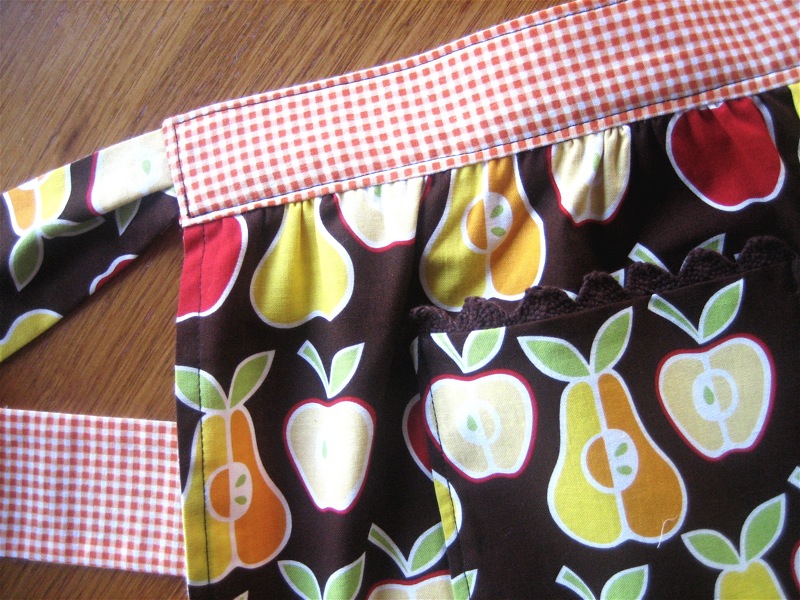
Pic 7Step 2: Attaching the pocket
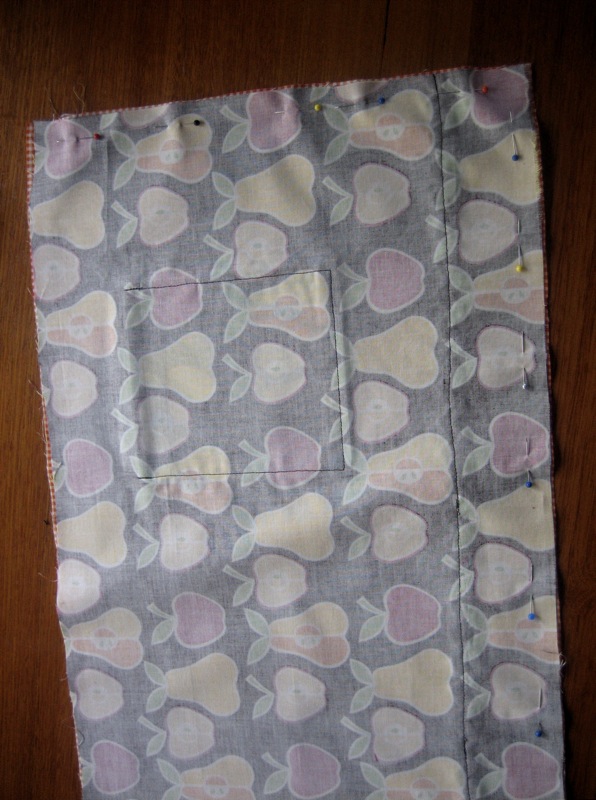
Pin the pocket to the apron front. When positioning, make sure you allow for when it is gathered. Stitch.
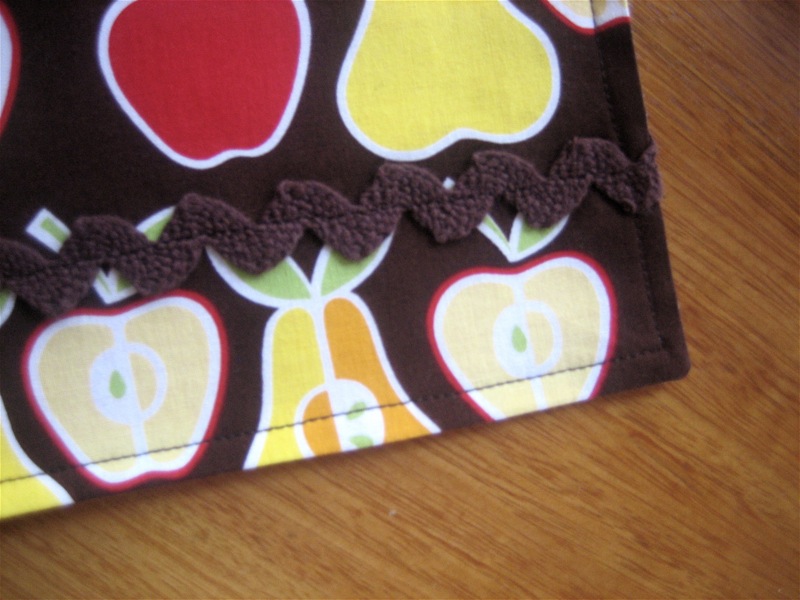
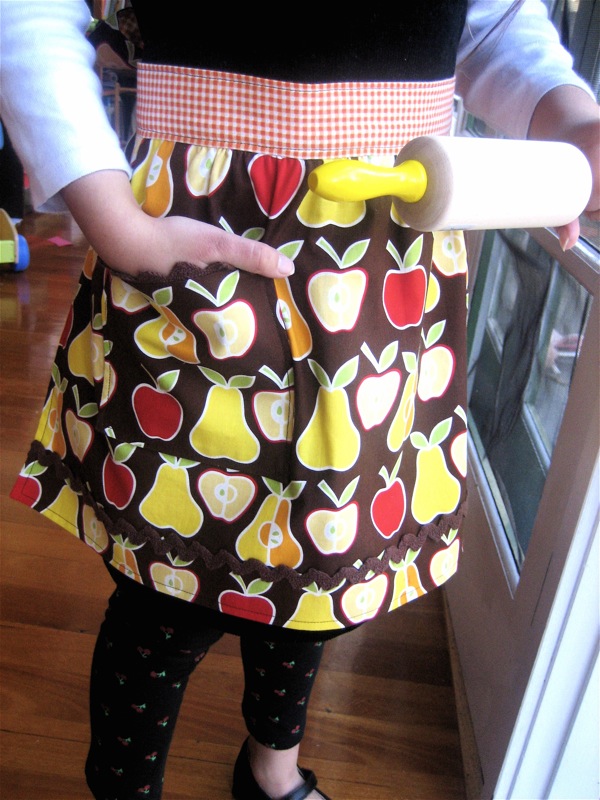
I have added a row of ric rac at the bottom of the apron which is also optional. Pin in the position you want it and stitch.
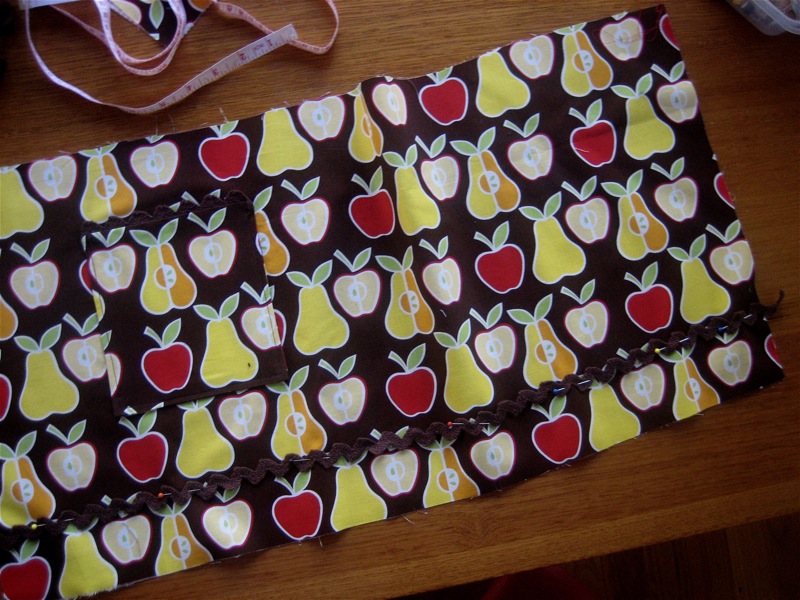
Step 3: The apron skirt
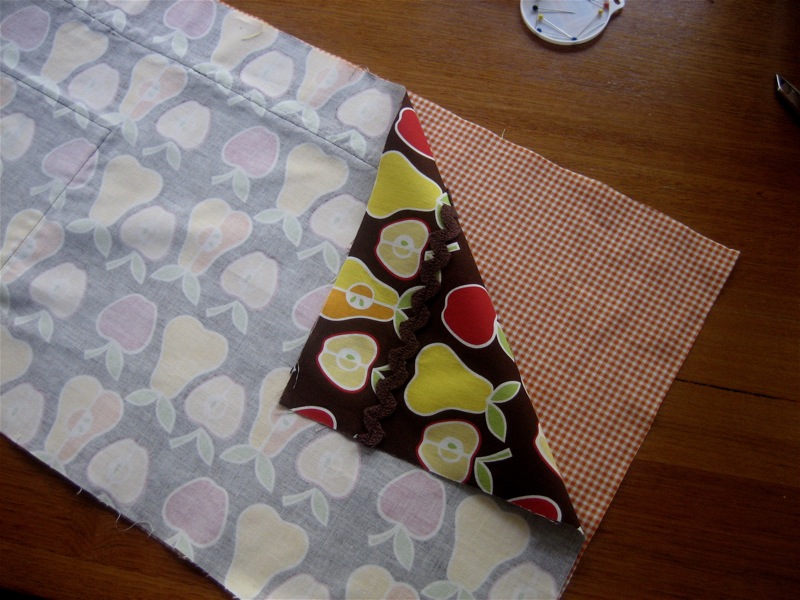
With right sides facing pin the lining to the apron front.
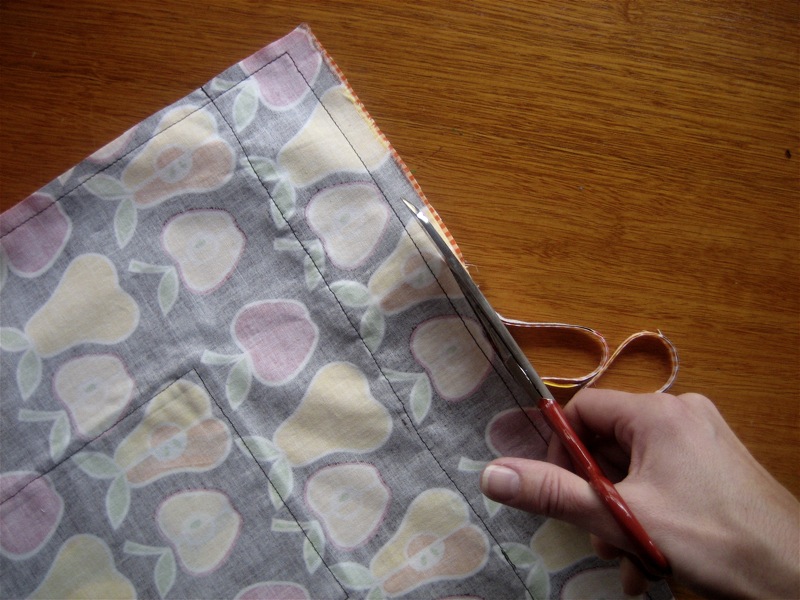
Stitch. Trim seams and clip the corners. Turn right side out, making sure you push out the corners properly, and press.
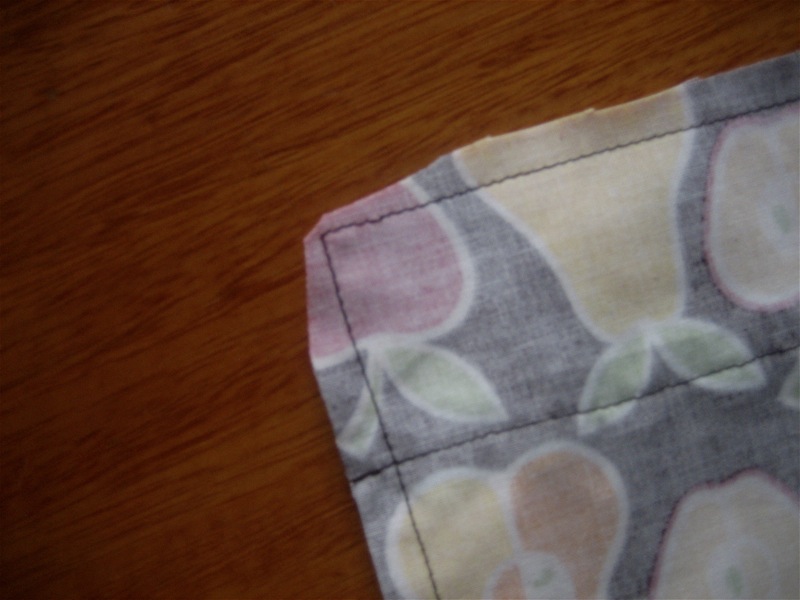
At this point it is optional whether or not you top stitch. I liked the look of top stitching on this apron.
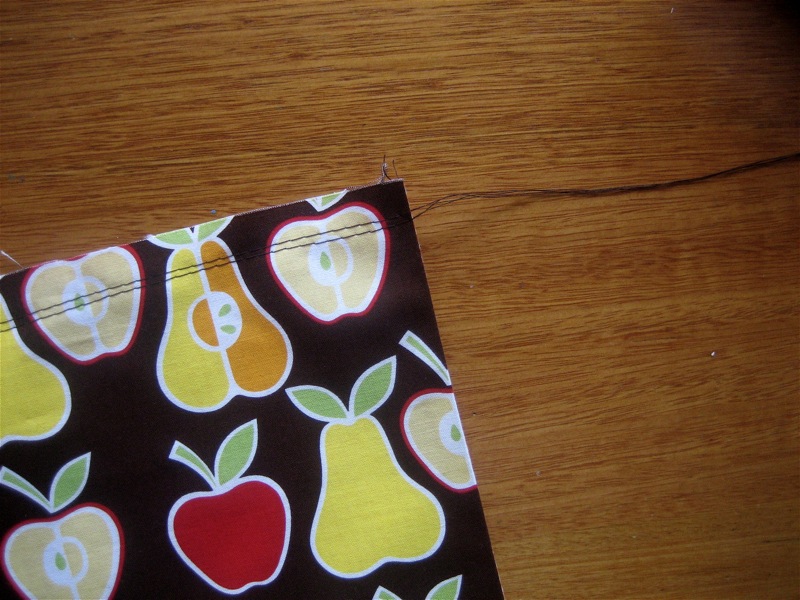
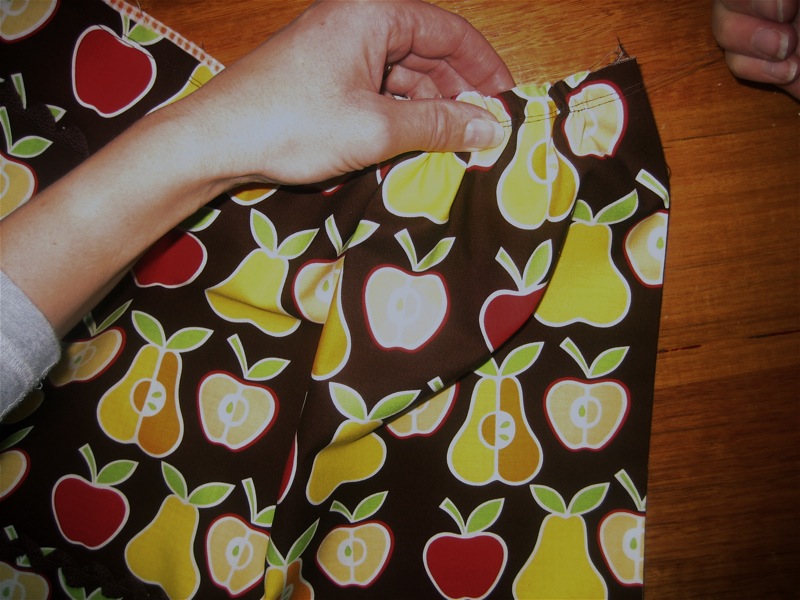
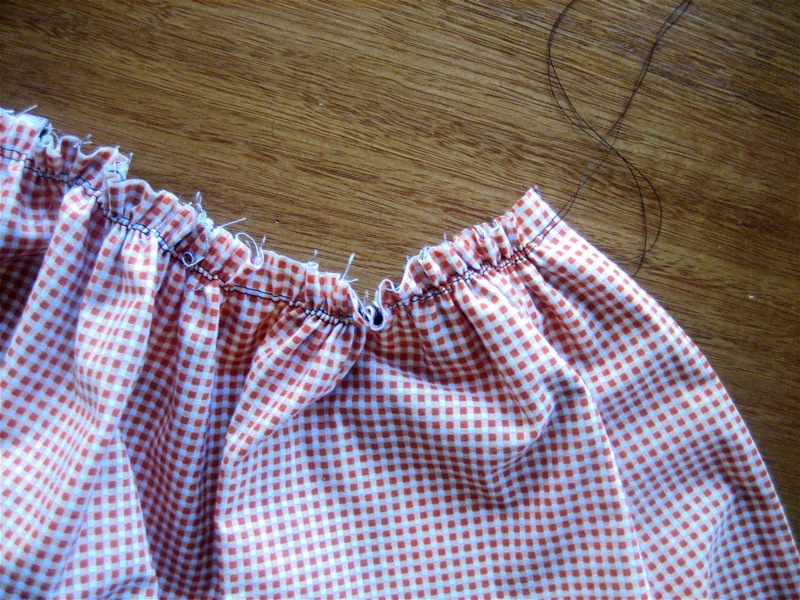
Step 4: Gathering the skirt
Set your machine stitch length to a long stitch. Without back stitching at the start or the finish sew across the top of the apron skirt. Repeat this just inside the first row of stitching.
Take the bottom thread of each row of stitching and holding the apron skirt pull into a gather. Do this on both sides of the apron skirt until the apron fits the width of the waistband not including the seam allowances.
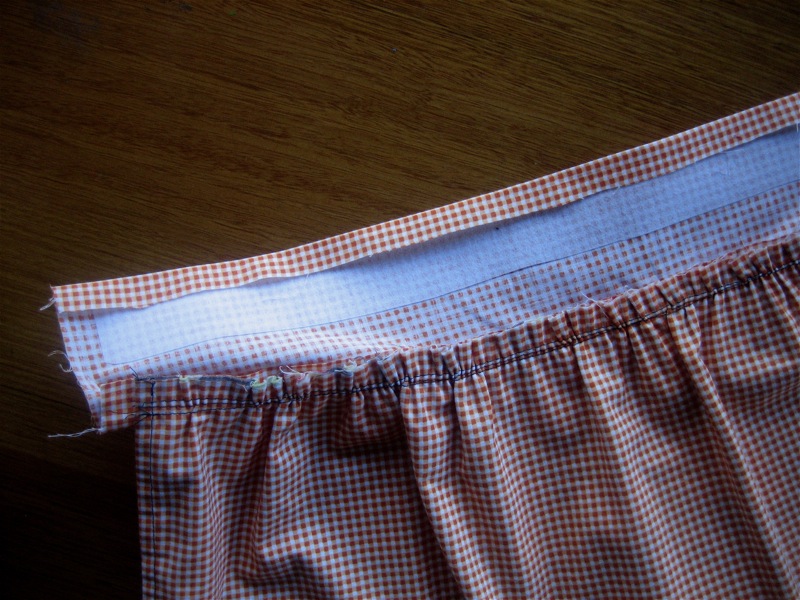
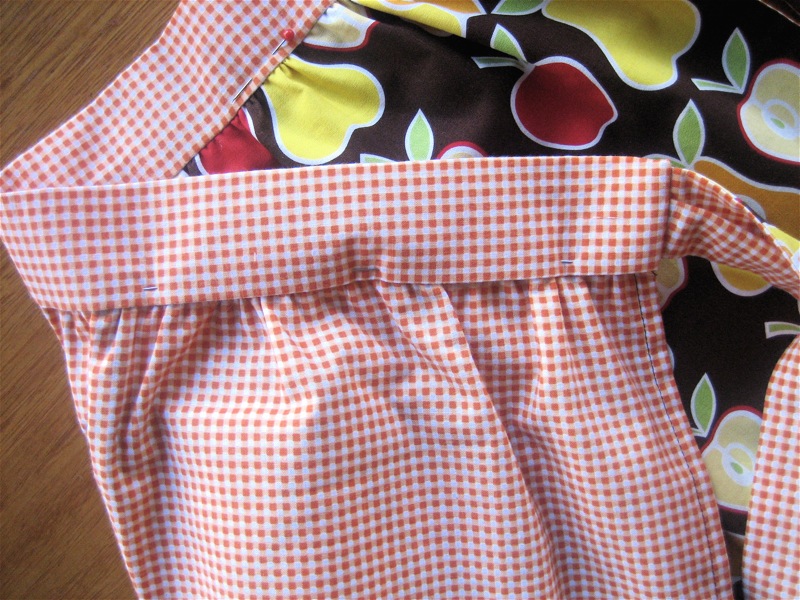
Step 5: Attaching the waistband
At this point while making the apron I decided that the waistband wouldn't be stiff enough to sit properly so I attached a lightweight interfacing - iron on vilene. Again, this is completely optional. Just cut a piece that measures half the waistband and iron on.
With the right sides facing pin the waistband to the apron skirt making sure the gathers are even. Stitch.

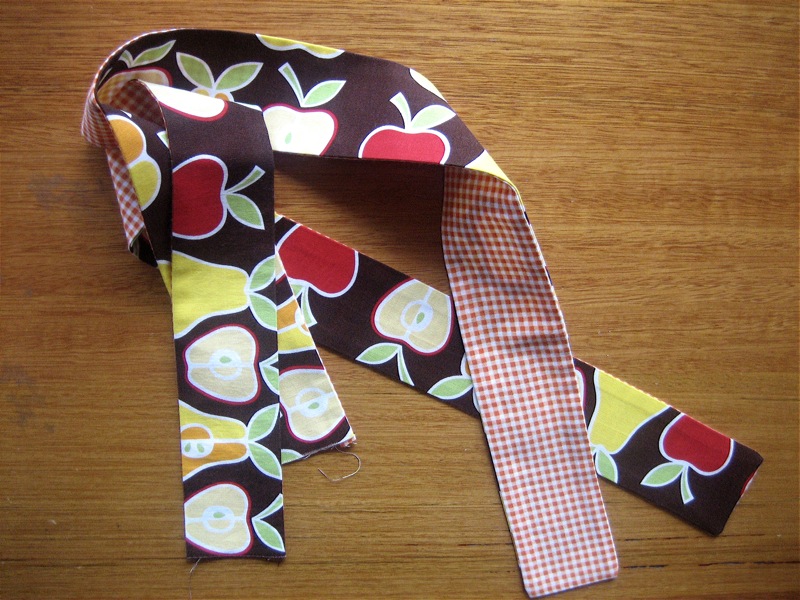
Step 6: Making the ties
With right sides facing pin the ties together leaving one end open. Stitch. Trim seams and clip the corners. Turn right side out, making sure you push the corners out properly, and press.
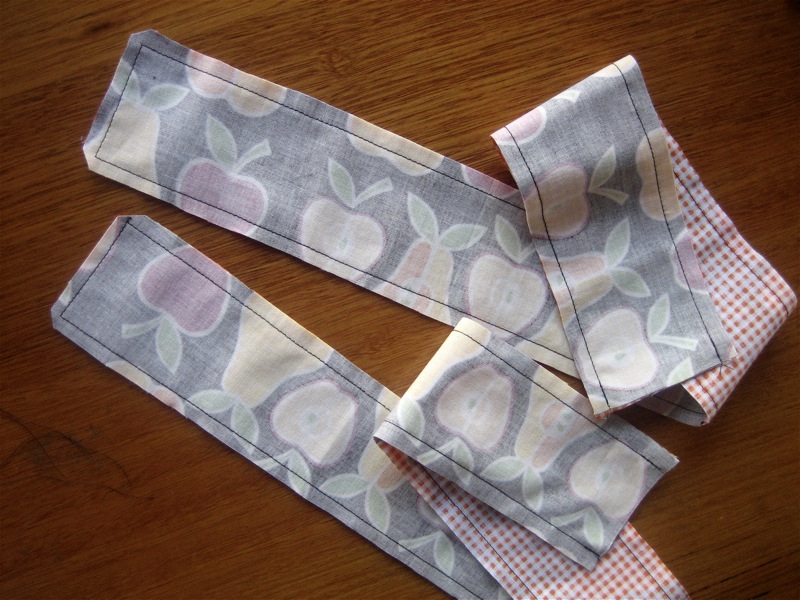
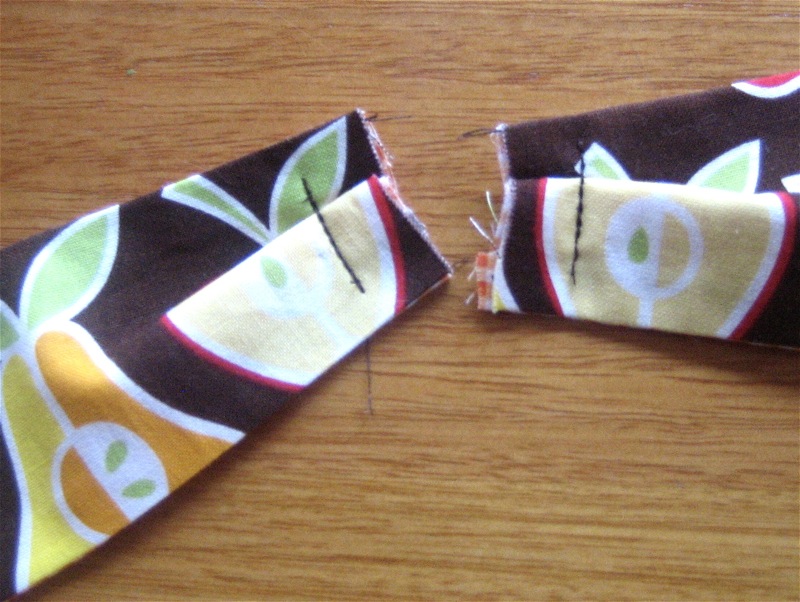
Step 7: Pleating the ties
To fit the ties into the waistband, I sew in a little pleat at the top of the tie. Just fold and stitch, making sure they are opposite and don't go in the same direction - see the picture.
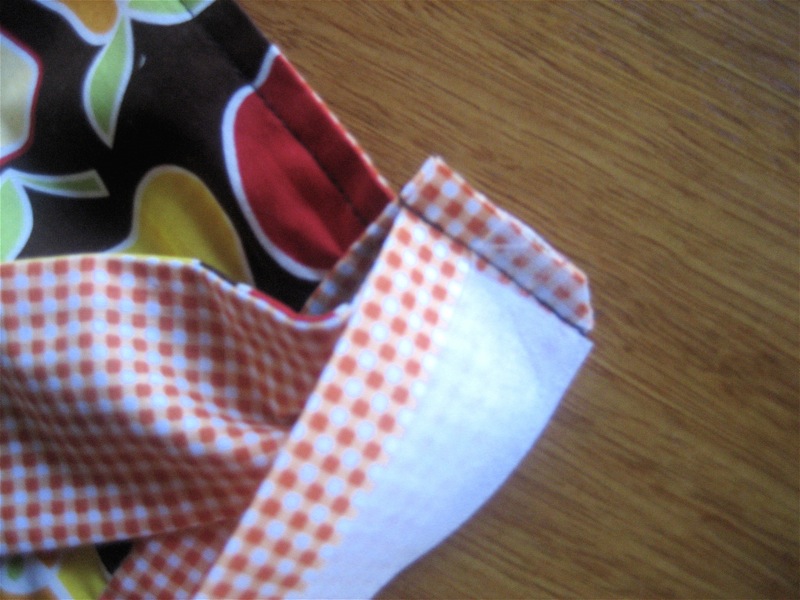
Step 8: Attaching the ties to the waistband
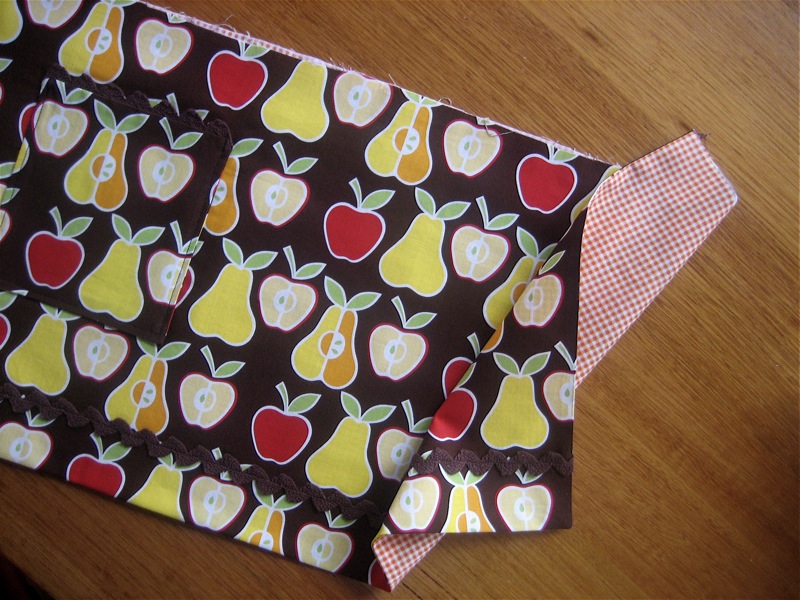
Fold the waistband in half with the right sides facing. Pin each side sandwiching the ties in the seam. Stitch.

Trim the seam and clip the corners. Turn the waistband right side out and press.
It is now optional whether you hand sew the waistband to the apron skirt lining or top stich it down. On this apron I have top stitched it all the way around. Again it depends on the look you want or how much time you have etc.

51 comments:
OH MY GOD!!! I love this tute, and I am a tutor at a university! Louise you have done a fabulous job. I feel like I can go out tomorrow and get myself some fabric. Thank You:-)
well done Louise - great tutorial.
I just love that fabric too. Love your little model.
I had to comment, too, about the thoroughness of this tutorial: it's wonderful! Thank you for sharing your process.
That was worth waiting for - great tutorial Louise, it must have taken ages, but it's fab. Thanks for sharing!
wonderful tutorial Louise, thanks so much for sharing it with us.
That's a great tutorial, Louise! And your photos make it all very clear. Thanks heaps! I'm inspired to make my own apron now.
I am the person who e-mailed you asking for advice on how to make an apron. I want you to know how much I appreciate you taking the time to do this for all of us. I am so excited! I know this had to be so time consuming and stressful. It is truely amazing when someone creative like you shares their knowledge. Your work is so inspiring as is your kindness! Thanks a million! Jen
jenrdh29@yahoo.com
Thanks for the tutorial, it's great!
I bought an apron pattern and haven't done a thing with it. The instructions are so vague and confusing, I felt too frustrated to bother. Thank you for writing my ideal apron tutorial! I wish I had time to get started right now. At least I know I will have a chance at success.
Also, I saw the doll quilt you made for Marisa, and I think it is absolutley lovely... one of my favorites. She's a deserving and lucky partner!
Thank you again for your generous post.
what a wonderful tutorial! truly amazing and inspiring thank you so much for taking the time to do this. The quality of your work is amazing
I wanted to add my thanks for taking the considerable time and effort to make this tutorial for everyone to enjoy and learn from. There are some things that I have been struggling with in my own sewing that you just brilliantly cleared up. :)
What a fabulous tutorial!
great tutorial! and the fabric is delicious - any chance it is generally available and you could point us in the right direction? SheWhoMustBeObeyed
I've been waiting for just the perfect apron tutorial to make some gifts, and this is it! This is exactly what I needed - thank you!!
I just wanted to say thank you so much for the wonderful instructions - I made my first apron from your site using two vintage floral pillowcases as fabric and it turned out perfectly! You are such an inspiration! I love your site : )
This is fantastic. I really want to make my best friend an apron for Christmas - this will work out wonderfully. Thank you for sharing!
This is exactly what I was looking for to make a new apron tonight! The pictures were tremendously useful. I already made my first one and I look forward to making variations the rest of the week.
As a former teacher, I had to tell you I think your tutorial is absolutely wonderful! Thanks for all the effort to bring it to us.
Barb
Thank you! I just made my apron today. It was supposed to be a gift for my sister but i love and can't share!
Thanks for the tutorial. I made my sister in law an apron today for Christmas. It turned out great!
Thankyou for the wonderful tutorial - I have just made my first apron for a present using it and it turned out fantastic - she loved it too!!
Thanks for the great tute! Instead of the ric-rac I added a disgustingly sweet frill. Here is a pic of my creation...
http://basilbush.blogspot.com/2008/02/fuction-meets-frilly-fashion.html
Thanks again!
This tut is killer. I made mine from a scrap of fabric and some old sleep pants I love how vintage and 50's it looks. I was wondering if I could post this on the ThreadBanger site to share your genius, or maybe you could if you wanted. Either way thanks for this, it's amazing.
It's wonderful! Thanks for sharing!
Emily
www.practicallypink.blogspot.com
I love your tutorial for the gorgeous apron.
Thank you for sharing.
This tutorial is fabulous, thank you so much - It makes me want to get sewing right now.
Thanks a bunch for your awesome tutorial!
I just completed my first apron yesterday following your wonderful instructions.
Rock on!
:-)
Thank you for this great tutorial ! I really enjoy to sew one apron for me !
This is by far the best tutorial I have ever seen!! Very clear and thorough. Thank you so much!!! Love it!
Thsnk you so much!! Love this, I made two one for me and my best friend for her birthday!! It was easy because of your pictures!! I see you posted this years ago but I am so glad you did!! Thanks!!!
Louise, this is a Lovely tutorial--your grasp of the details astounds and delights me; thank you for your perseverance.
Earlier this year, in one of those "no-pattern-let's-wing-it" modes, I made a reversible lined butcher's apron with ties inset into side seams. Solid orangish-rust polyester with a soft, brushed feel turns over into a gently tie-dyed crinkled cotton. Many remarked on its uniqueness and colors. :)
Inspiration, that's what you are!
I am grateful. Namaste.
looking for apron fun for our cafe... this is just what I was after. Love the lining and the top stitching. Will have to find the right fabric and start sewing.
What a great tutorial....so very thorough. Thank you for your efforts on our behalf.
Although I've made aprons before and have sewn alot, I've never made a nice transition from waistband to ties before - thank you!!! :) My apron today turned out perfect!
really liked your tutorial! i think i'll attempt this next time i make an apron.
I made 12 of these aprons for friends this year for Christmas. They turned out great! Thanks so much for the tutorial... I'm a total beginner when it comes to sewing and I was so happy that I was able to actually make something cute!
Thanks so much for the tutorial. I was able to make some lovely gifts with it.
This is so cute! I might actually attempt to do this!! The fruit fabric is just darling, great job! Bravo!
Well done ,its nice still early but i wanna go out and get some fabric and eager to make this ,thanks for sharing ur ideas
I love your tutorial. It is VERY easy to understand. Thank you for taking the time to do it for everyone. I will be adding your blog to my following list. And once I make one I'll post it on my blog with a link to you site :) Thank you again
Thank you for such a great tutorial. I just made one for my little one and she loves it...especially the pocket!
Thanks for the tutorials .. that was exactly what im looking for. I am doing my personal work aprons and gathering this ideas of your really help me.
Generation is changing I thought they all are go for readymade no that is wrong now all the proples are most like wear only stitching materials. Because of the fitness and comfortable. Thanks for sharing.
MLB2k11
How adorable! I'm making matching father-son aprons for Christmas but came across your tutorial and just had to say: Cute! :)
thanks it's a nice idea i'm so excited to begin one like it
This is so cute and such an easy tutorial. I just made an apron using it! It's on my blog (of course I linked back here too). http://katydiddys.blogspot.com/2012/07/lemonade-stand-apron.html
Just a quick note - I loved your blog, and miss seeing your stunning stitching! I made a couple of aprons from this tutorial when you first posted it, and have spent a couple of hours looking for the post (I couldn't remember which blog/website it was on!) - have come back to the sewing machine after 5 yrs away from it... I remember these aprons being straightforward enough for me! Hope you are well, and thanks for all the time you've put job to your blog - still useful and inspiring all this time later! Xx
A powerful share, I just given this onto a colleague who was doing just a little analysis on this. And he in reality purchased me breakfast as a result of I discovered it for him.. smile. So let me reword that: Thnx for the treat! But yeah Thnkx for spending the time to discuss this, I really feel strongly about it and love studying more on this topic. If doable, as you develop into expertise, would you mind updating your blog with extra particulars? It is extremely useful for me. Huge thumb up for this blog publish! usa online casino
Thank you! I just made my apron today. It was supposed to be a gift for my sister but i love and can't share!
floral throw pillow
baby blue accent pillow
baby accent pillows
Judi Online
Judi Bola
Idnplay
Post a Comment